


Before you head to the grocery store (or your local cheesemonger), you need to know how much cheese to buy. Three to four ounces of cheese (total) per adult is a good target for a classic appetizer course; if your cheeseboard is an after-dinner treat, aim for a little less.
Utensils and other serving tools make a huge difference in how your guests interact with the cheeseboard. There are no ironclad rules here, but these tips will help things run smoothly:
- Avoid flavor contamination by providing a different knife for each cheese your guests will be slicing at the table
- Supplement your serving knives with toothpicks (for medium-firm cheeses) and tongs (for harder cheeses) to make it easy for guests to help themselves
- Little plates are a must—don’t make your guests eat cheese off a cocktail napkin!
WHAT KINDS OF CHEESE SHOULD YOU PUT ON A CHEESEBOARD?
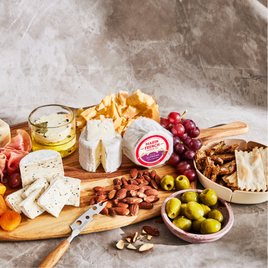
As long as your board starts with good cheese, you can’t go wrong—but that doesn’t exactly narrow things down. With so many different varieties and flavor profiles to choose from, what kinds of cheese should you put on a cheeseboard? There’s no wrong answers when it comes to cheese, but if you want to create an exceptional cheeseboard, your selections should represent as many different textures and flavors as possible. Aim for 3-5 total cheeses that differ from each other in these three categories.
Texture: Hard & Crumbly vs. Soft and Gooey
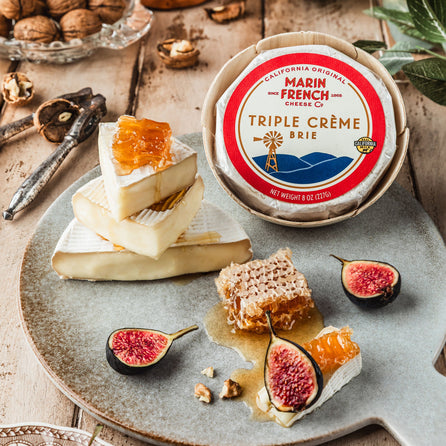
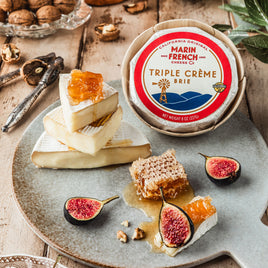
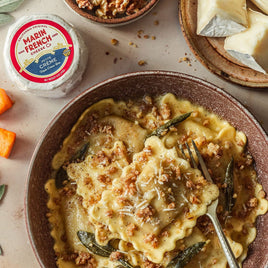
This one’s pretty self-explanatory: Your cheeseboard should include plenty of different textures. Pick at least one very hard cheese (like Parmigiano-Reggiano or an aged Gouda) and one very soft, gooey cheese—like our Triple Crème Brie or Petite Suprême—with a few options in between.
Funkiness & Overall Flavor
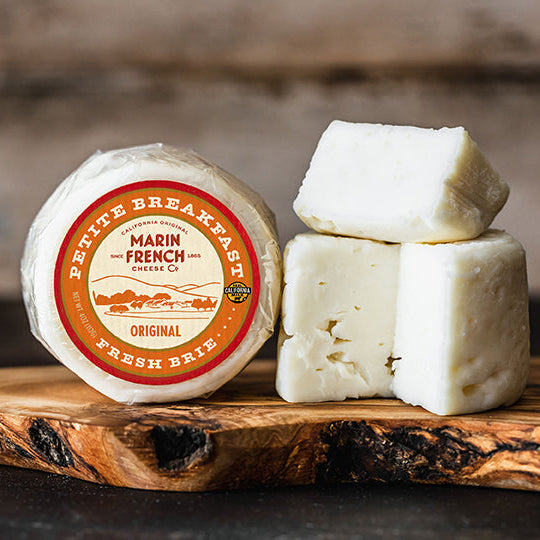
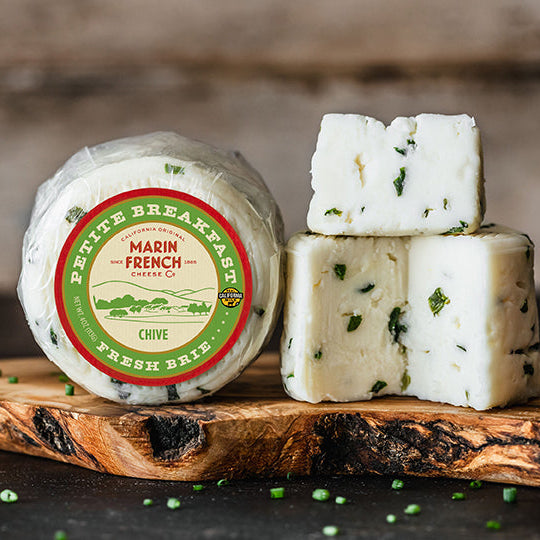
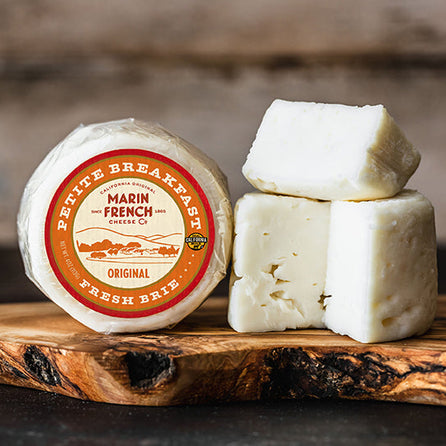
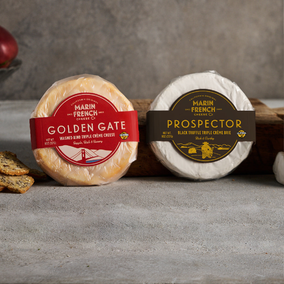
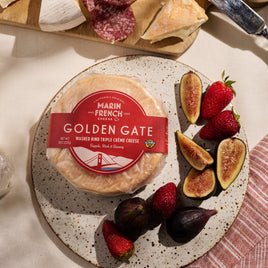
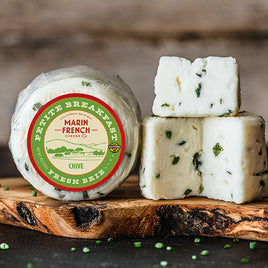
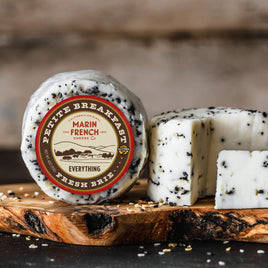
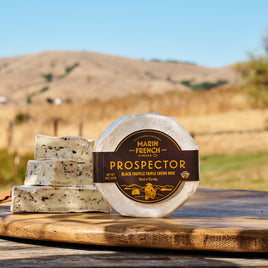
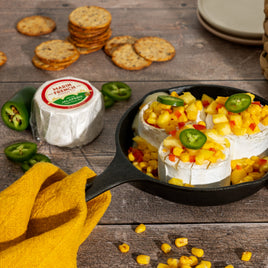
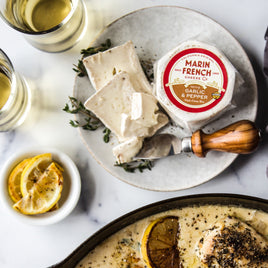
Too much ultra-funky cheese is, well, too much; too much fresh, mild-flavored cheese lacks depth. Select cheeses that represent a wide range of ripeness, funkiness, and overall depth of flavor: For every pungent washed-rind cheese (like our Golden Gate) or sharp blue (we love Point Reyes Original Blue) on your board, there should be something milder for balance. Your definition of “milder” may vary: Something young and fresh like our Petite Breakfast would be perfect, but a velvety Petite Suprême would also work nicely. And for even more variety, why not choose an option with extra flavor built in? Our Petite Bries come in Truffle, Garlic & Pepper,, and Jalapeño-studded varieties, perfect for adding a little interest to your next cheeseboard.
Milk Type
An easy way to represent a wider range of flavors and textures is to mix up the milk types of your cheeses. Goat and sheep’s milk cheeses come in the same wide range of textures and varieties as cow’s milk cheeses, but bring their own unique flavors to the table. Our friends at Laura Chenel specialize in goat cheese, and their marinated discs add even more flavor variety.
HOW TO CUT & PRESENT CHEESE
Approaching a cheeseboard can be a little intimidating for anyone who’s unfamiliar with the finer points of serving cheese. How much are you supposed to take for each bite? Is that knife for cutting cheese or spreading mustard—and if it is for cutting cheese, what’s the right way to go about it?
As the host, you can avoid confusion by making it obvious how your guests should navigate the cheeseboard. Slice or cube any medium-firm cheeses into bite-size pieces ahead of time, and chunk or crumble your hard cheeses for a rustic look. This not only makes it easy for your guests to serve themselves, it also adds some visual interest to the board and cuts down on utensils.
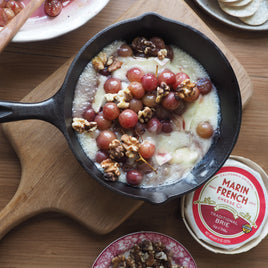
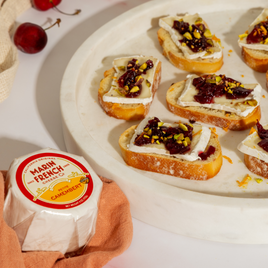
That leaves soft cheeses — our specialty! If you’re not used to serving cheese, it’s not immediately obvious how to serve brie or camembert. All cheese tastes best at room temperature, but this is especially true for soft ripened cheeses. They need to sit out for at least 30 minutes to soften up and bring out their full flavor — but if you can spare an hour or more, that’s even better. The only issue here is that properly softened cheese is nearly impossible to pre-slice for your guests. Instead, try cutting a “sample” or “display” slice with the serving knife as a guideline and let your guests do the rest.

Looking for cheeseboard ideas? Here are some great ideas for how to make a cheeseboard.
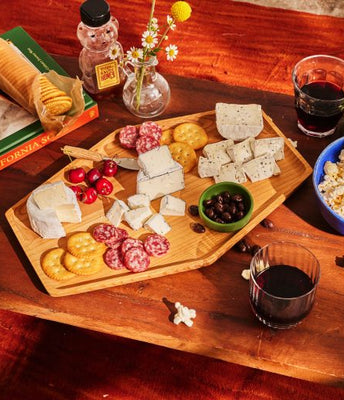
EVERYTHING ELSE: THE ACCOMPANIMENTS
The cheese may be the star of the cheeseboard, but the accompaniments bring the whole thing together. For the best cheeseboard experience, you should prioritize contrast as much as possible.
Eating mouthful after mouthful of just cheese can be both repetitive and overwhelming, so it’s important to pick supporting ingredients that play off your cheeses in some way. These flavors and textures are a great place to start:
Crunch: Crisp crackers; crunchy slices of fresh fruits and veggies
Softness/chewiness: Slices of fresh, chewy baguette; fruits that are soft when ripe (think figs or stone fruits); jams; fruit pastes like guava and quince
Sweetness: Honey, jam, and extra-sweet ripe fruit
Acidity: Cornichons, mustard, pickled seasonal veggies, preserved lemon, fruits on the tarter side (grapes, raspberries), high-quality aged balsamic vinegar
Heat: Pepper jelly, pickled hot peppers, Calabrian chili paste or oil, hot honey, horseradish or hot mustard
There are probably millions of different ways to build a cheeseboard, but once you narrow down your options just a little, you’ll find that everything quickly comes into focus. Don’t worry too much about perfection — building a good cheeseboard is all about having fun! As long as you pick cheeses you love and invite the right people, your cheeseboard is bound to be a hit!